
Turn Audio Files into Blog Posts with AI (Step-by-Step)
Mar 16, 2026 • 3 min read

Want to turn podcasts, interviews, voice notes, or any audio recording into a polished, SEO-optimized blog post in minutes? This step-by-step tutorial walks through a simple workflow using Video To Blog. The goal: upload an audio file, let AI generate a well-structured article, tweak for accuracy and SEO, then publish with one click.
What you need before you start
- An audio file (mp3, wav, etc.) from your podcast, interview, or recording.
- A Video To Blog account (there is a free trial that provides one blog per month with no credit card required).
- A target site for publishing (WordPress, Ghost, Shopify, or other platform supported by the tool).
Step-by-step tutorial
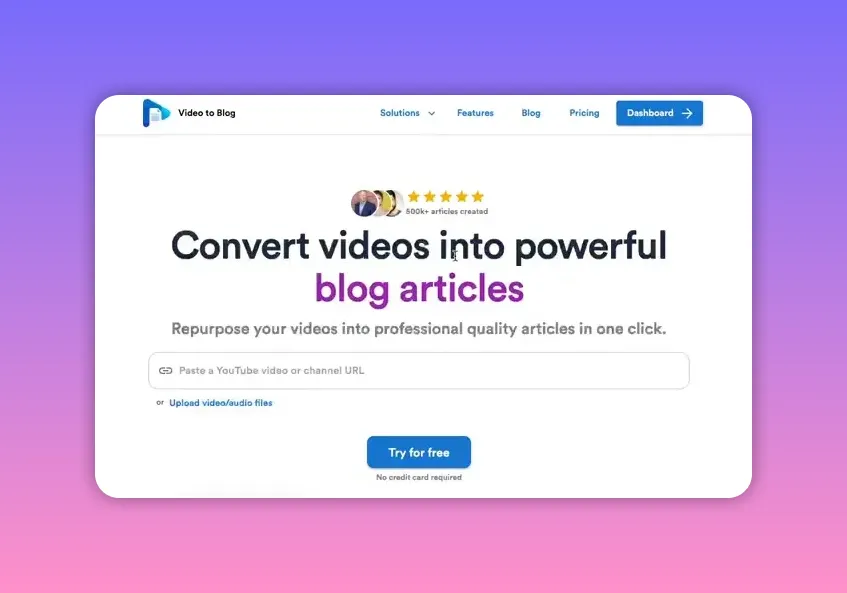
- Open Video To Blog and go to your dashboard.
Sign in and locate the Create Blog Post button on the dashboard.
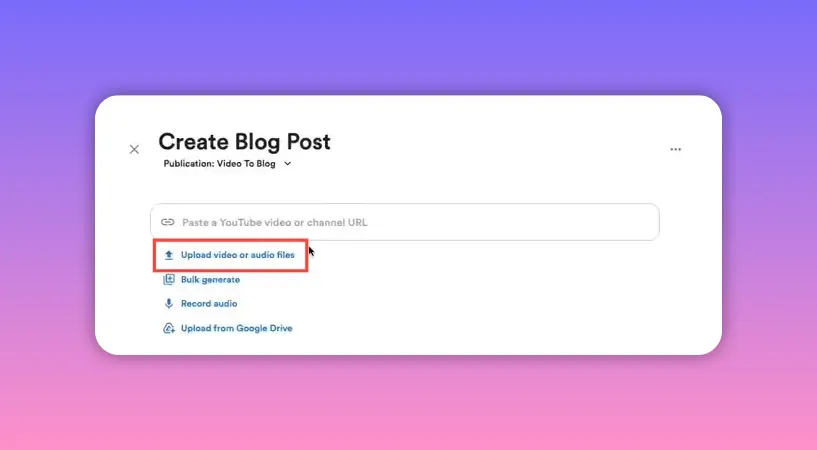
- Click Upload video or audio files.
Select the audio file you want to turn into a blog post and confirm the upload.
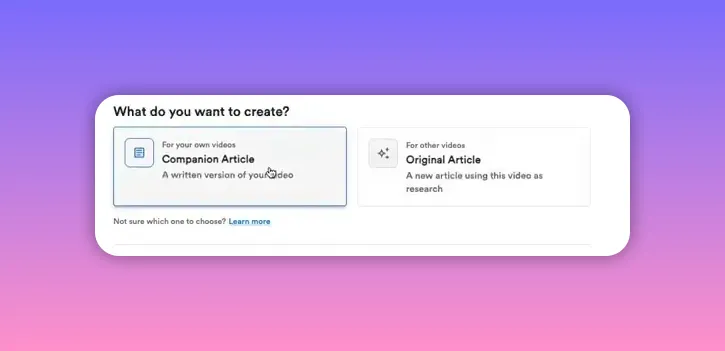
- Choose article type: companion or original.
Select Companion article if the audio is your own content and you want the blog post to align closely with the recording. Choose Original article if you want the AI to use the audio purely as research for a fresh, restructured post.
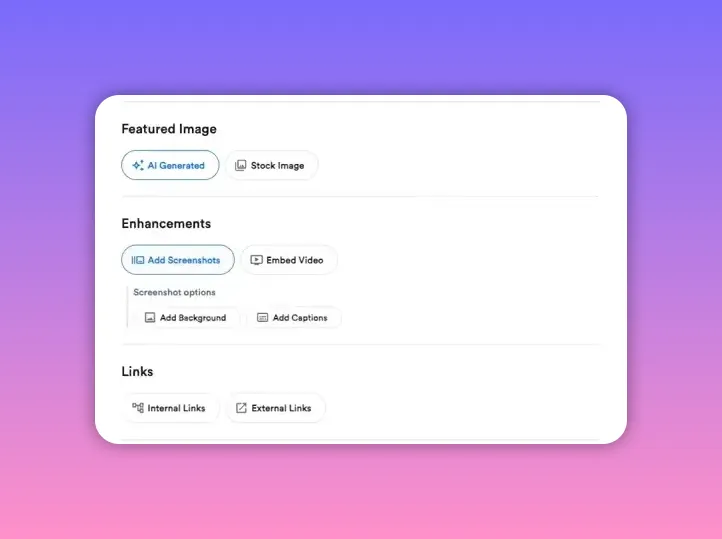
- Configure media and extras.
Enable an AI-generated featured image to give the post a professional look instantly. If your upload is audio-only, skip screenshot uploads. Leave other options at defaults if you prefer a quick generation, or adjust writing preferences and SEO settings if you want more control.
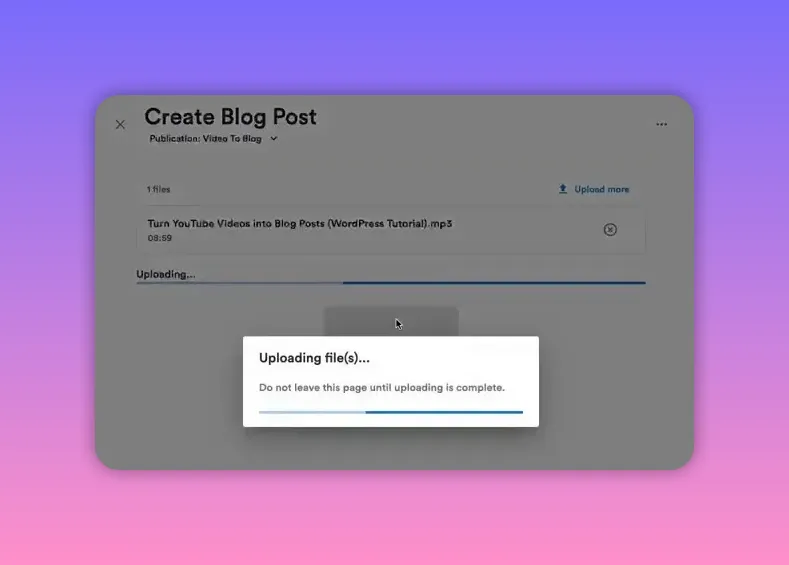
- Create the blog post and let the AI run.
Hit Create Blog Post. The tool will upload the file, send it to the AI, and generate a structured article. This usually takes about one to two minutes.
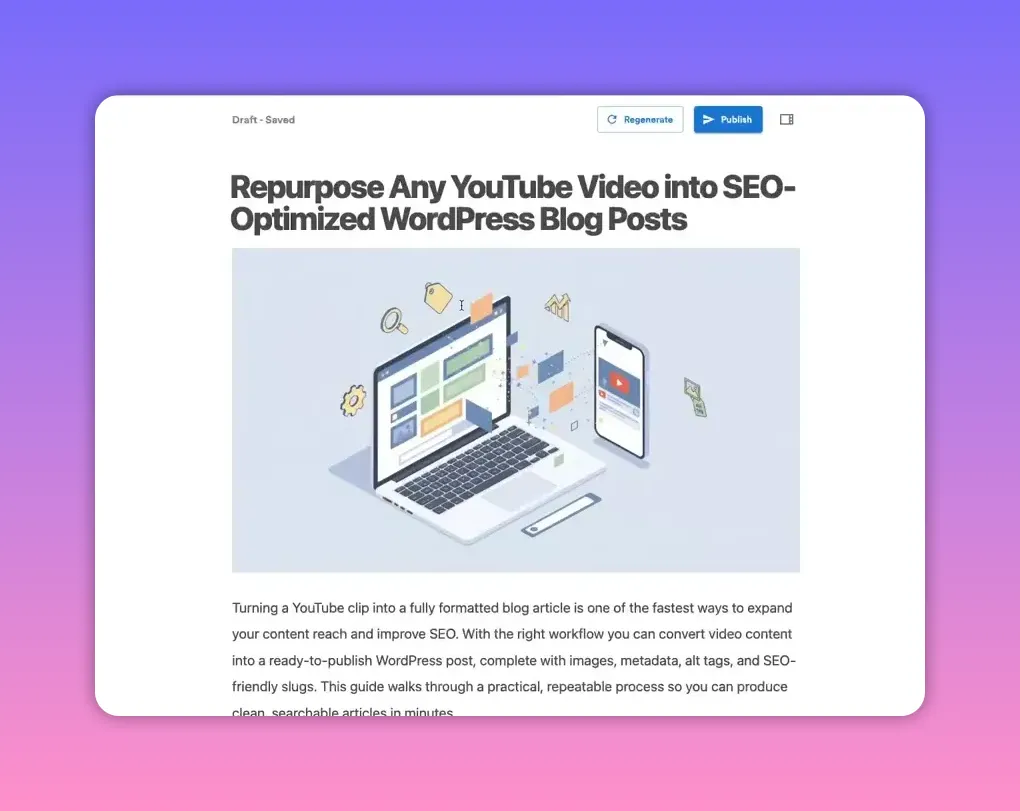
- Review the generated post and make edits.
Read through the article, correct any factual or tonal issues, and add missing context. The AI handles structure and grammar, but a human pass ensures accuracy and brand voice.
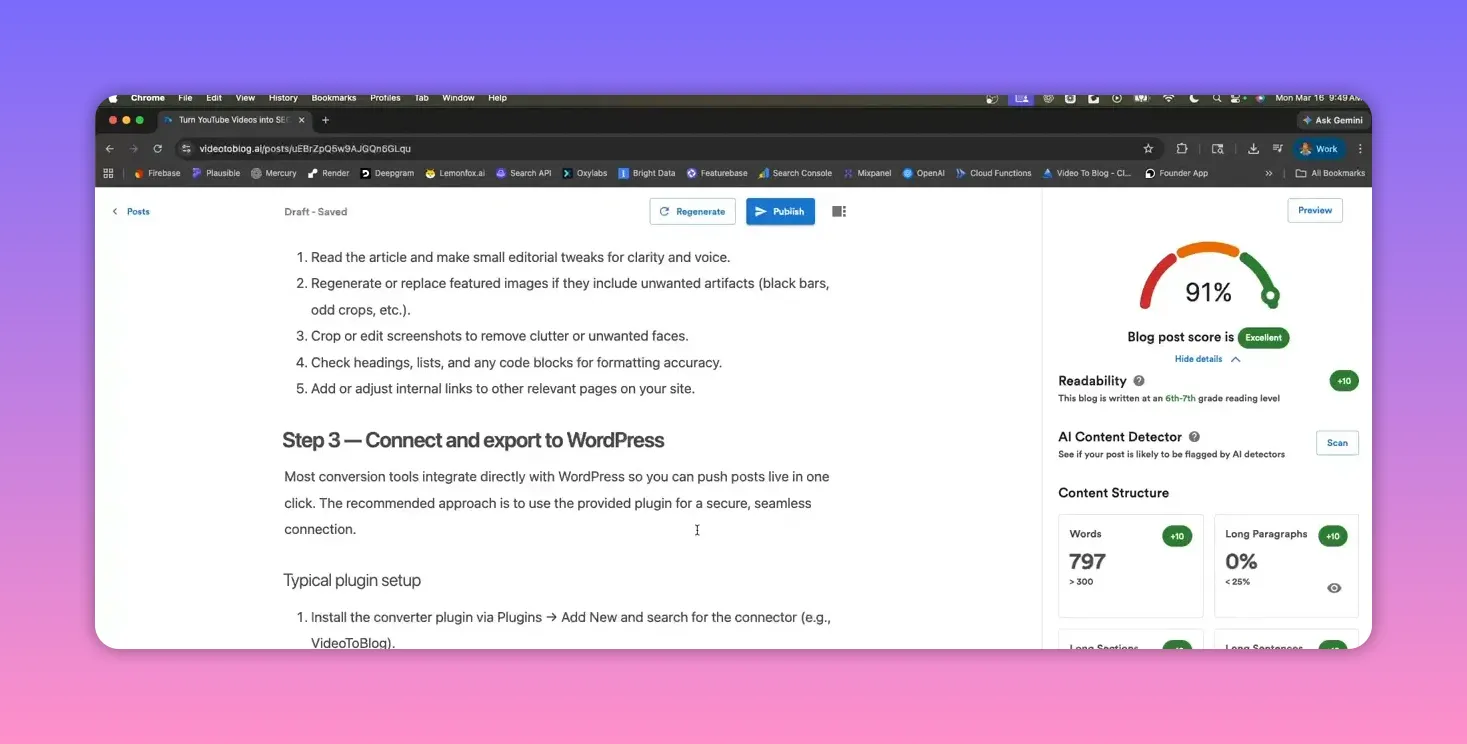
- Check the blog post score and fix issues.
Use the built-in blog post score to evaluate readability, formatting, and SEO configuration. Common flagged items include missing links and internal references—add those before publishing.
- Publish or export to your website.
When you’re satisfied with the article, publish directly to your CMS. Video To Blog supports one-click publishing integrations for platforms such as WordPress, Ghost, and Shopify.
Companion article vs original article — when to use each
- Companion article: Best when the audio is your own episode or content and you want the blog post to reflect the original verbatim structure with timestamps, quotes, and direct takeaways.
- Original article: Use when you want the AI to synthesize the audio into a newly structured piece—for example, turning raw interview material into a how-to guide or long-form post.
Quick tips to improve SEO and engagement
- Add links—internal links to related posts and external references increase credibility and the blog post score.
- Optimize headings—ensure H2 and H3 headings include relevant keywords and break content into scannable sections.
- Use the AI-generated featured image and consider adding relevant images/screenshots for visual interest.
- Polish the intro and conclusion—clear opening and closing paragraphs help both readers and search engines.
- Include metadata—confirm meta title and description are keyword rich before publishing.
Workflow recommendations
- Batch-process multiple audio files to create a content calendar for weeks or months ahead.
- Use companion articles for repurposing existing episodes and original articles for evergreen, researched pieces.
- Always perform a final human edit for tone, accuracy, and brand consistency.
- Publish with recommended links and share on social to drive initial traffic and engagement.
Why this workflow saves time
Instead of manually transcribing, structuring, and formatting content, the AI automates transcription and converts spoken content into a readable, SEO-ready article in minutes. This frees up time for strategic editing and promotion—tasks that add the most value.
Final notes
Turning audio into articles is an efficient way to expand content reach, boost SEO, and get more value from recorded conversations. With a straightforward tool like Video To Blog, the process becomes fast: upload, choose options, let AI generate, edit once, and publish. Follow the steps above and you can consistently produce polished blog posts from any audio source.


SOLUTIONS BY USE CASE
YouTube to Blog
Podcast to Blog
Webinar to Blog
Audio to Blog
Transcript to Blog
YouTube to Transcript