How to Turn a Sermon into a Blog Article with Video To Blog
Feb 3, 2026 • 3 min read
Why convert sermons into blog posts?
Repurposing sermons as blog articles helps reach people who prefer reading, improves SEO for your church website, and builds a searchable archive of past messages. With the right workflow you can turn a single sermon recording into a polished, shareable article in minutes instead of hours.
What you need
- A recorded sermon — a YouTube link, a video file, or an audio file.
- Access to Video To Blog — the tool that automates transcription and article generation.
- A website or publishing destination (optional) — WordPress, Ghost, Wix, Shopify, or any platform that accepts HTML or Markdown exports.
Step-by-step tutorial: convert a sermon using Video To Blog
1. Start with your sermon file or URL
If your sermon is on YouTube, copy the video URL. If it’s not on YouTube, export the recording from your camera or audio system as an MP4 or MP3 — Video To Blog accepts both uploads.
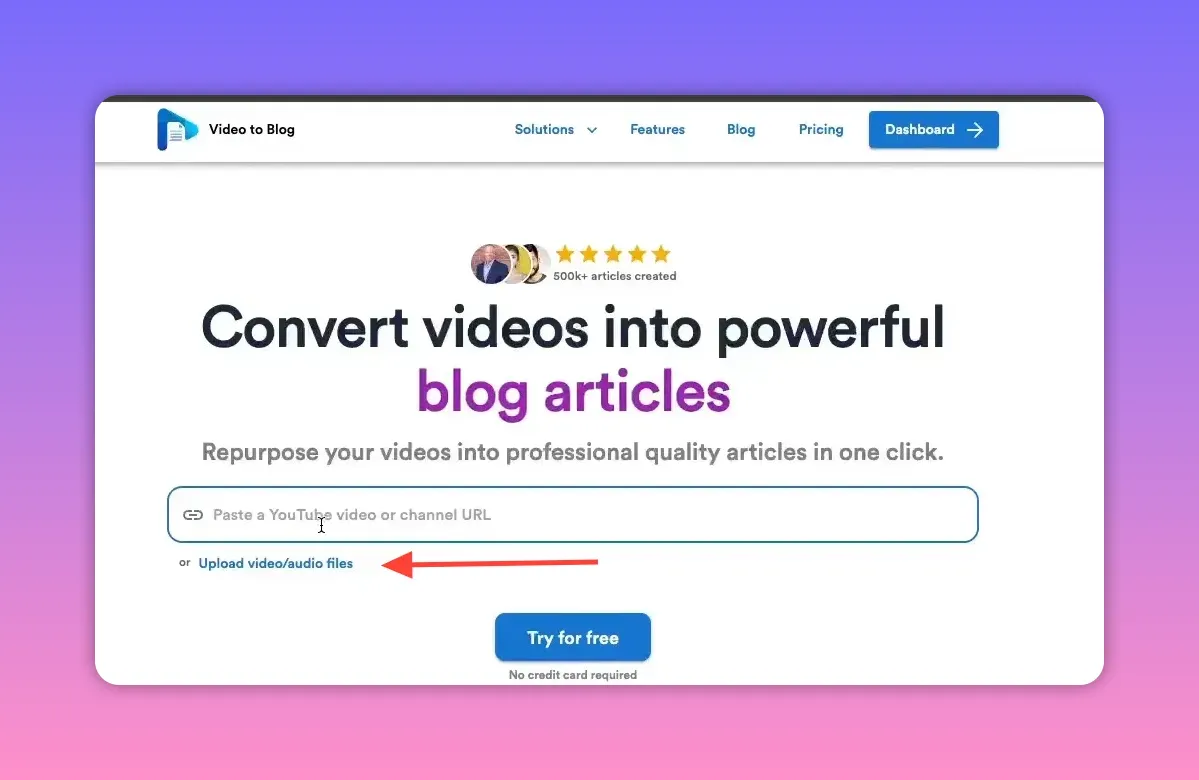
2. Open Video To Blog and import
Go to https://www.videotoblog.ai. Paste the YouTube URL into the import box or click the upload button to add a local video or audio file.
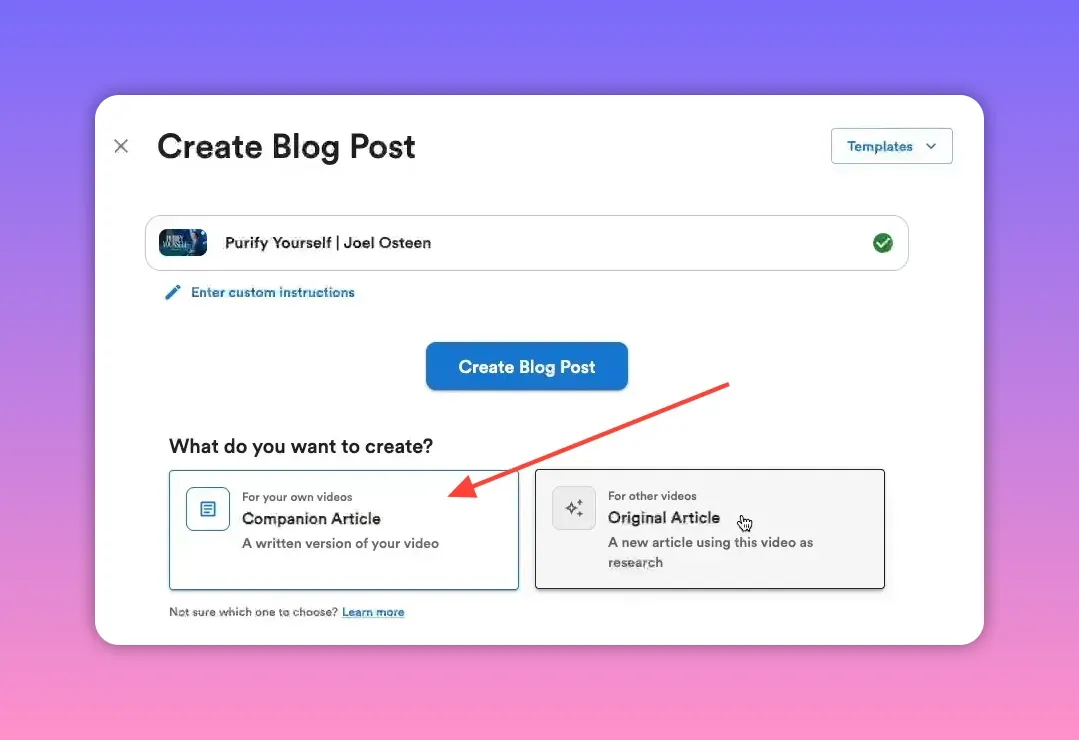
3. Choose the article type
Select a content mode. For an article that accompanies your sermon video choose Companion article. If you want to use the sermon as source material for a fresh, original piece, select the research/original option.
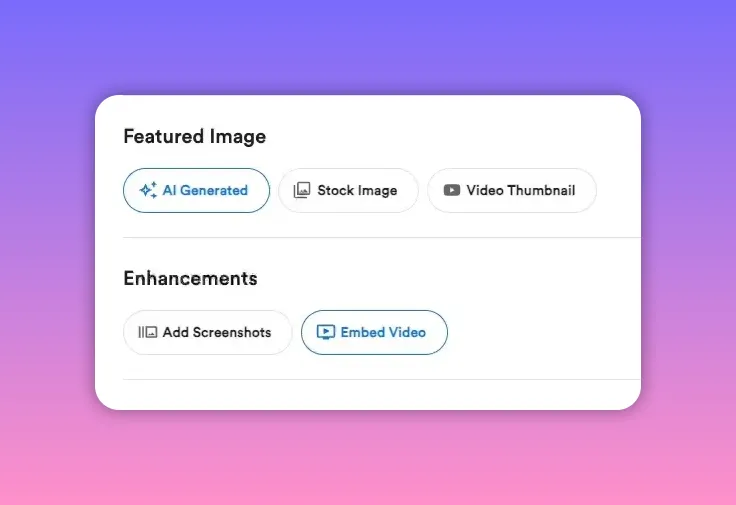
4. Select a featured image and media options
Pick one of these featured-image options:
- AI-generated — quick and customizable images.
- Stock image — the tool will pull from Unsplash.
- Video thumbnail — use this if you already have a compelling thumbnail.
Choose whether to embed the sermon in the article (recommended) and whether to include screenshots. If your recording is a speaking head on stage, screenshots may not add value.
5. Configure writing preferences (optional)
If you want the generated article to match your existing blog voice, upload a writing sample or set tone and style preferences. Otherwise keep defaults and proceed.

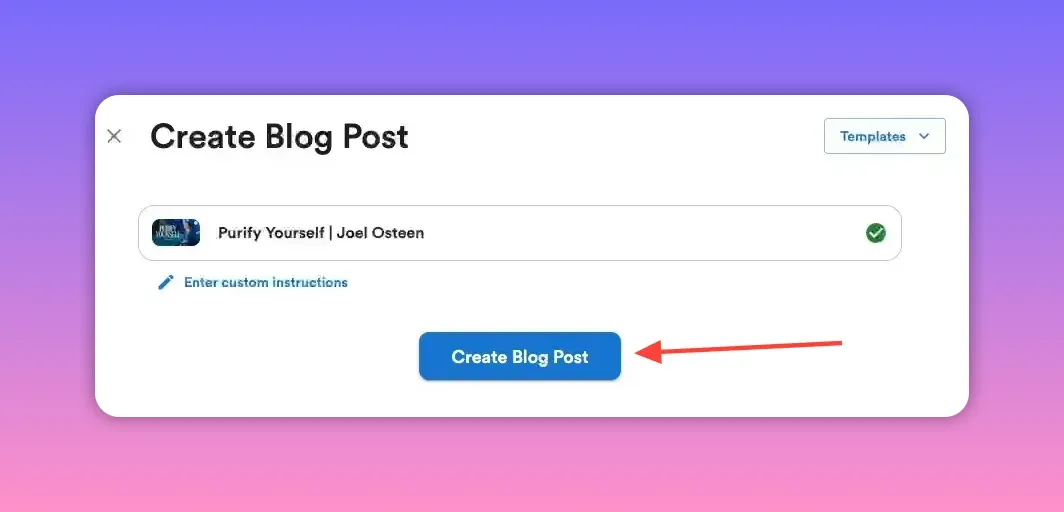
6. Generate the article
Click Create blog post. The tool transcribes the sermon, structures the content, and drafts a full article. Typical generation time is under a few minutes.
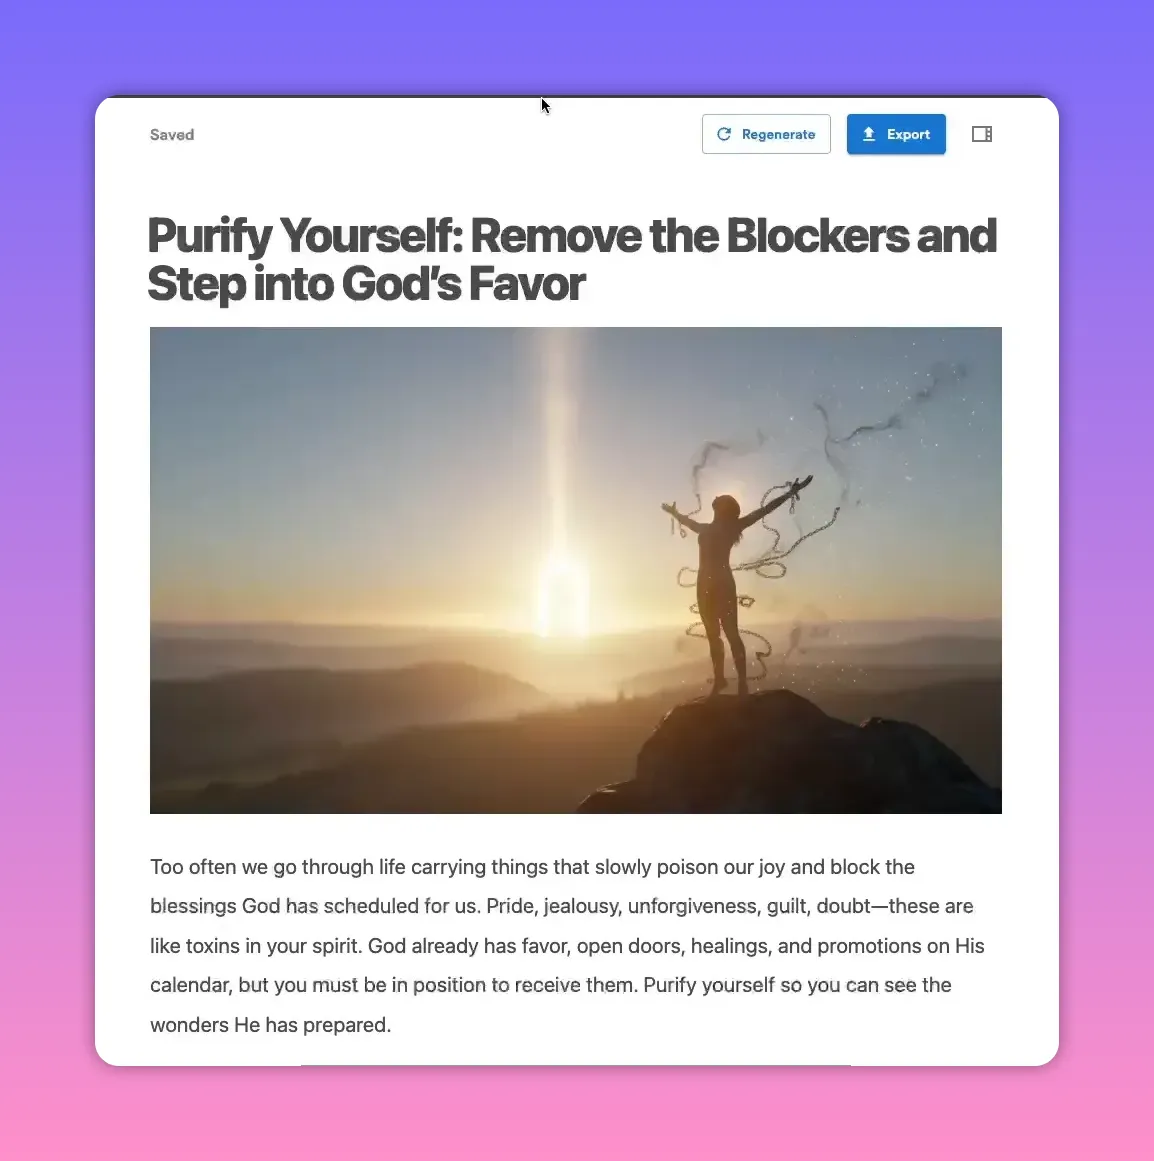
7. Review and edit
The generated draft will include an expanded title, a featured image, quotes pulled from the sermon, and a summary. Use the built-in editor to:
- Edit wording, format, and headings.
- Add external links (for example, Bible passages or resource pages).
- Insert screenshots at relevant moments.
- Use the AI editor for quick rewrites or reorganizing sections.
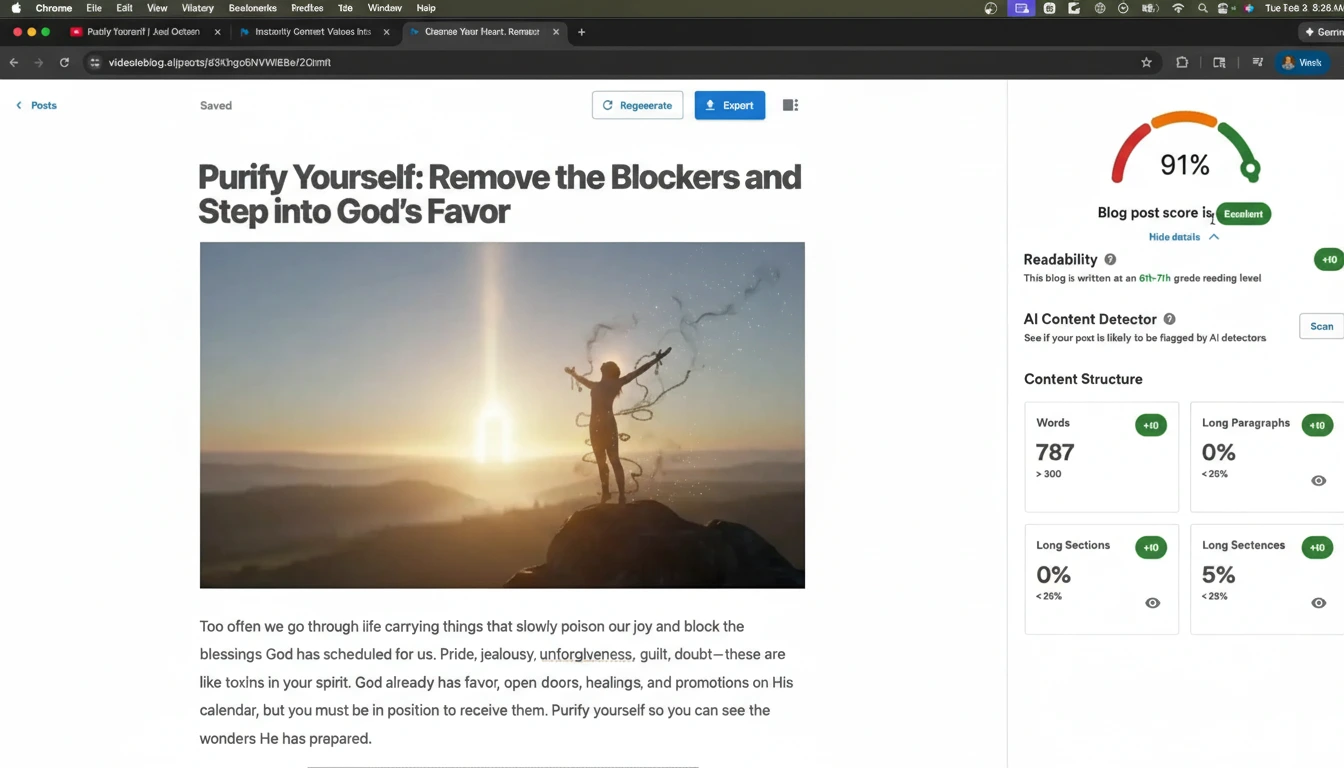
8. Check SEO and the block score
Video To Blog provides an SEO/block score that shows completeness and suggestions. Aim to resolve any missing items (often external links) before publishing.
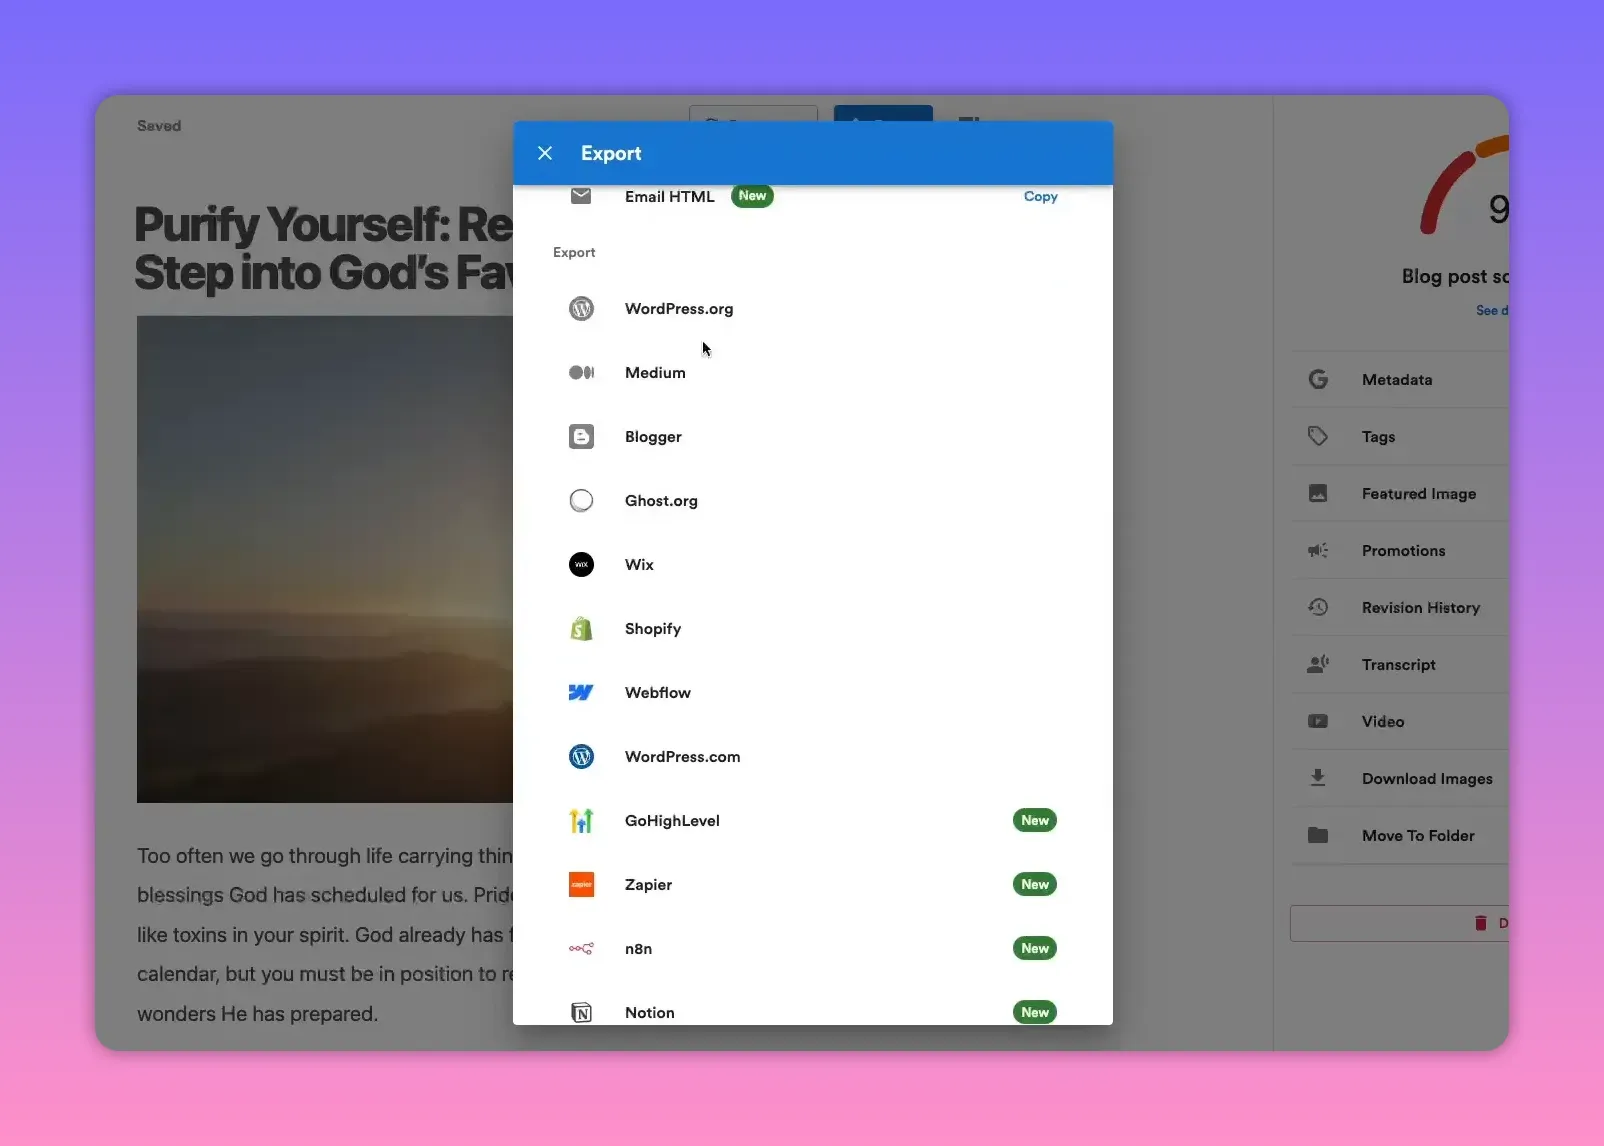
9. Export or publish
Export options include HTML, Markdown, Word, PDF, or email-friendly HTML. For direct publishing, integrate Video To Blog with your site and push the article live with one click. Supported platforms include WordPress.org, Blogger, Ghost, Wix, Shopify, and more.
10. Automate future posts
If you regularly post sermons to a YouTube channel, set up an automation so a blog post is generated automatically whenever a new video is published. You can configure the automation to generate drafts for review or to publish automatically.
Best practices for sermon-to-blog conversions
- Add context — include a brief introduction to each sermon that explains the topic and who the message is for.
- Use timestamps and screenshots — embed screenshots at key moments to help readers connect the text to the recording.
- Link to scripture and resources — add external links to Bible passages, study guides, or ministry pages.
- Keep paragraphs short — blog readers skim; use concise paragraphs and clear subheadings.
- Maintain a consistent archive — categorize posts by sermon series, speaker, and date for easy navigation.
Quick checklist before hitting publish
- Title reflects the message and includes keywords (sermon topic, church name, series).
- Featured image is relevant and high quality.
- Embedded video is present so readers can switch to the recording.
- External links (scripture, resources) are added.
- SEO/block score is reviewed and any suggestions addressed.
Where to get started
Try out Video To Blog. It offers a free trial tier so you can convert a sermon and evaluate the output before committing.
Rather watch instead?
Check out our video here...
Final note
Turning sermons into blog posts is a powerful way to extend the reach of each message with minimal extra work. With an automated tool like Video To Blog you can create consistent, SEO-friendly content that preserves your sermons’ core ideas and helps new people discover your ministry.


